Imagine Andy Warhol with computer graphics software and an expanded palette of ink -- contemporary screen printing is a powerful medium for translating digital images into physical works of art.
I learned to screen print during my 2017 summer residency at Otis College of Art and Design in Los Angeles. Lucky me -- printmaking is a fantastic way to make digital art tangible. Unfortunately, mechanical reproduction has muddied public perception of "printmaking." Industrial printing and artist printmaking are entirely different things -- machines pump out copies that are all the same, whereas artists have their hand and eye in every step of the image creation. Each print is hand-made and original.
My screen printing process begins with a digital master file that I separate into singe color layers. Sometimes, I make my layers using traditional CMYK separation. Other times, I manually trace or filter areas of the image for "spot color" printing. Printing a spot color means to choose a color for aesthetic reasons (as opposed to compositing photographic realism). This is how I add visual effects that are more painterly, and it's how I print an adhesive layer for metallic foil. In contrast, traditional CMYK printing (think magazine and newsprint) relies on specific combinations of ink, transparency, and half-tone angles. I like to combine both methods -- traditional CMYK and spot colors. I enjoy mixing silk screen, digital printing, and painting, but this post will focus on screen printing only.
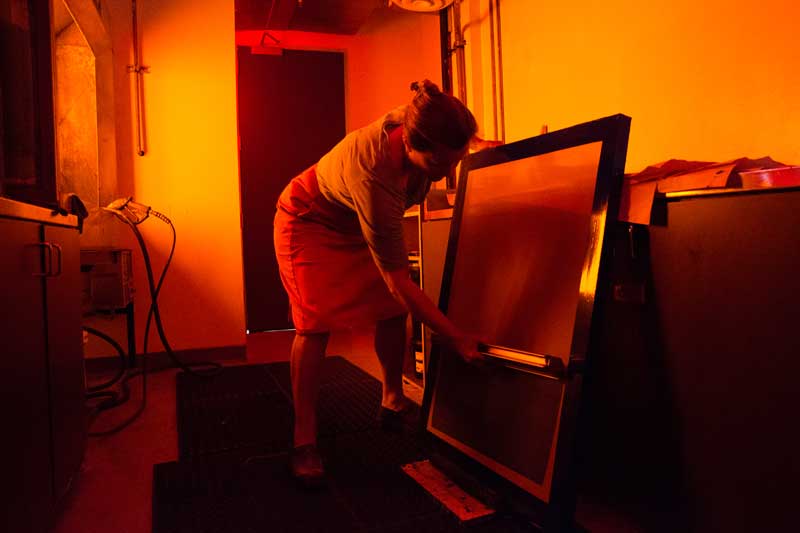
Once I have teased apart the different color layers of my image, I convert each layer to grayscale, adjust for contrast, and convert to half-tone. A half-toned image is made of tiny dots that give the illusion of grayscale (or printed color value) according to the density of the dots. Each half-toned layer corresponds with a single screen. Using a special inkjet printer with opaque black ink, I print my digital image onto transparency film and use it to burn my screen. (Note that it can be confusing to tell layers apart after they have been converted to black and white, so I always mark the file name on the edge. Sometimes, artifacts from my transparency labels will appear in the borders of my prints.)
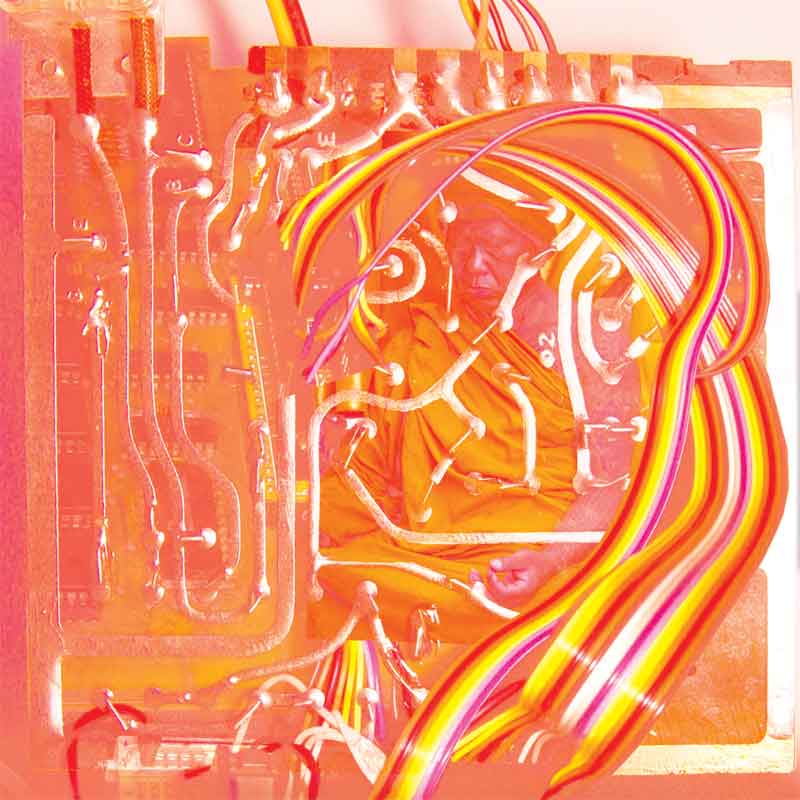
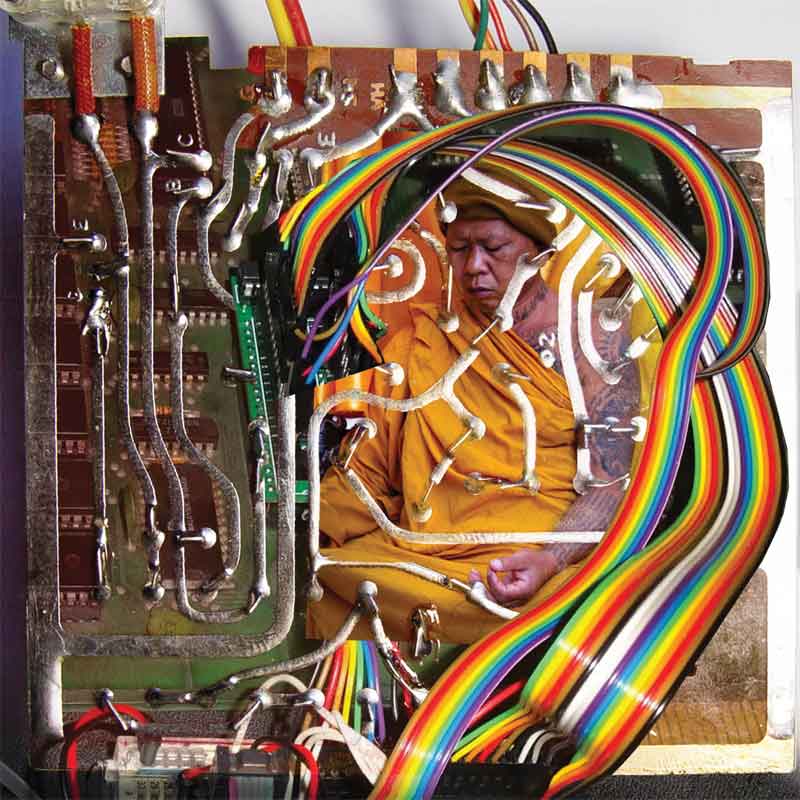
Below are the seven different transparencies that I used to burn screens for Transhuman Goalie (2017), 1st edition.


Master file for Transhuman Goalie (2017). This multi-layered Adobe Photoshop image was used to create seven half-tone transparencies. What you see here is a composite of all of the digital image layers in CMYK bitmap format.
With my screens burned, it is time to register my image. Depending upon what I'm trying to do, registration can be tedious and time-consuming. I'll use a reference print on acetate as well as pins and tabs - the later being my new favorite technique for printing multiples. I invite a little misalignment because it adds visual interest that you don't see in a machine print or photograph. Shifts in registration can also suggest movement or vibration if done intentionally.
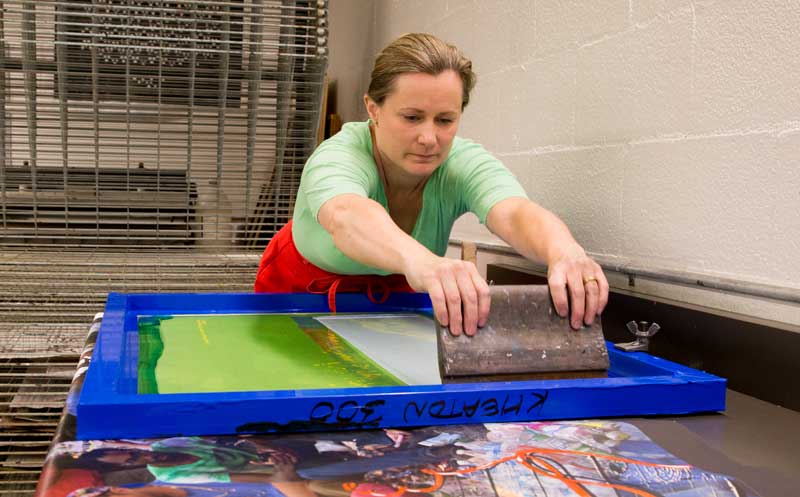
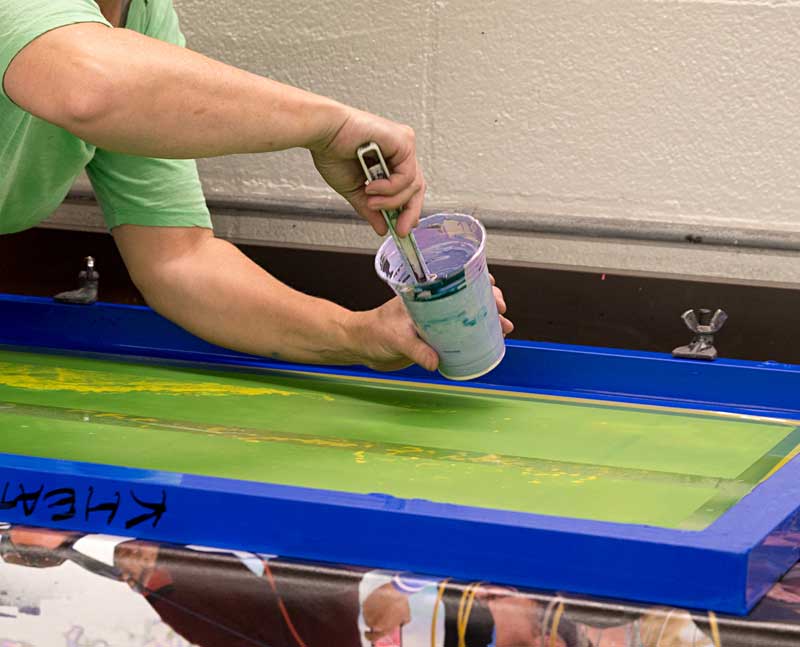
Next I mix my ink. For CMYK, I add a lot of transparent base and do tests to evaluate the additive print effect. I treat spot colors like paint. I like the opacity of Super Cover textile inks by Permaset. Otherwise, Speedball works well for transparent layers. I use water-based ink for environmental reasons. I put a little retarder (<5%) in everything.
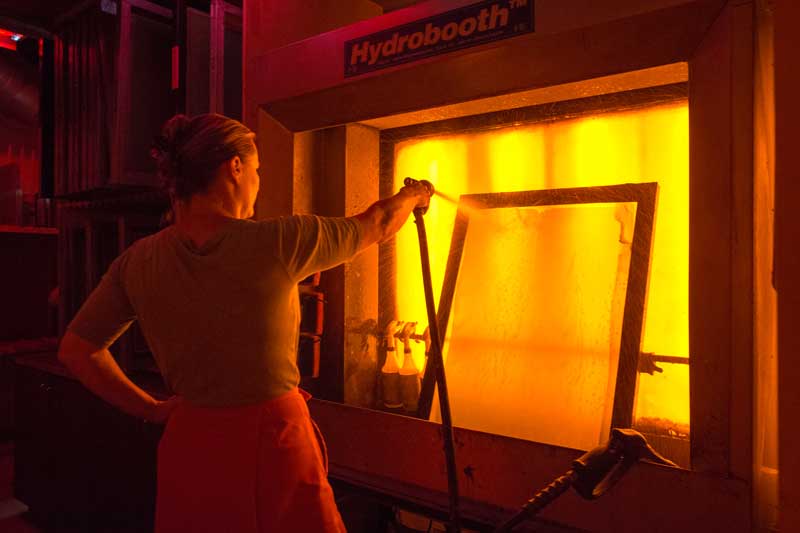
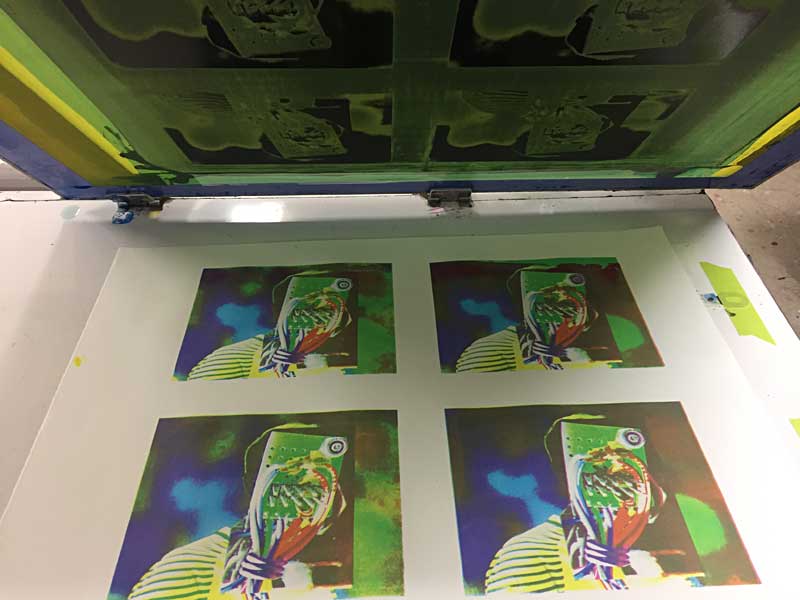
Now it's time to print. For CMYK, I start with yellow and proceed to the progressively darker colors (magenta, cyan, and black). The ink has to dry between each print layer, so I use this time to clean my screen and equipment. I also use drying time to remove the stencil from my screen, reapply emulsion, and burn the screen with a different image layer. Screen printing involves careful planning and multi-tasking because there's no time to dawdle when the screen is flooded with ink (it dries rapidly and clogs the mesh).
Thank you to everyone who has helped me learn the art of screen printing: Nick Mohammed, Charles William Carroll, Jamie Russom (all at Otis) and Carolyn Hartmann of Open Studio DC. Thank you to Creative Capital, Ronald Feldman Fine Arts, Otis College of Art and Design, and David Burns for your generous financial support. Thanks also to Juliana Coles for your studio camaraderie during our learning process!